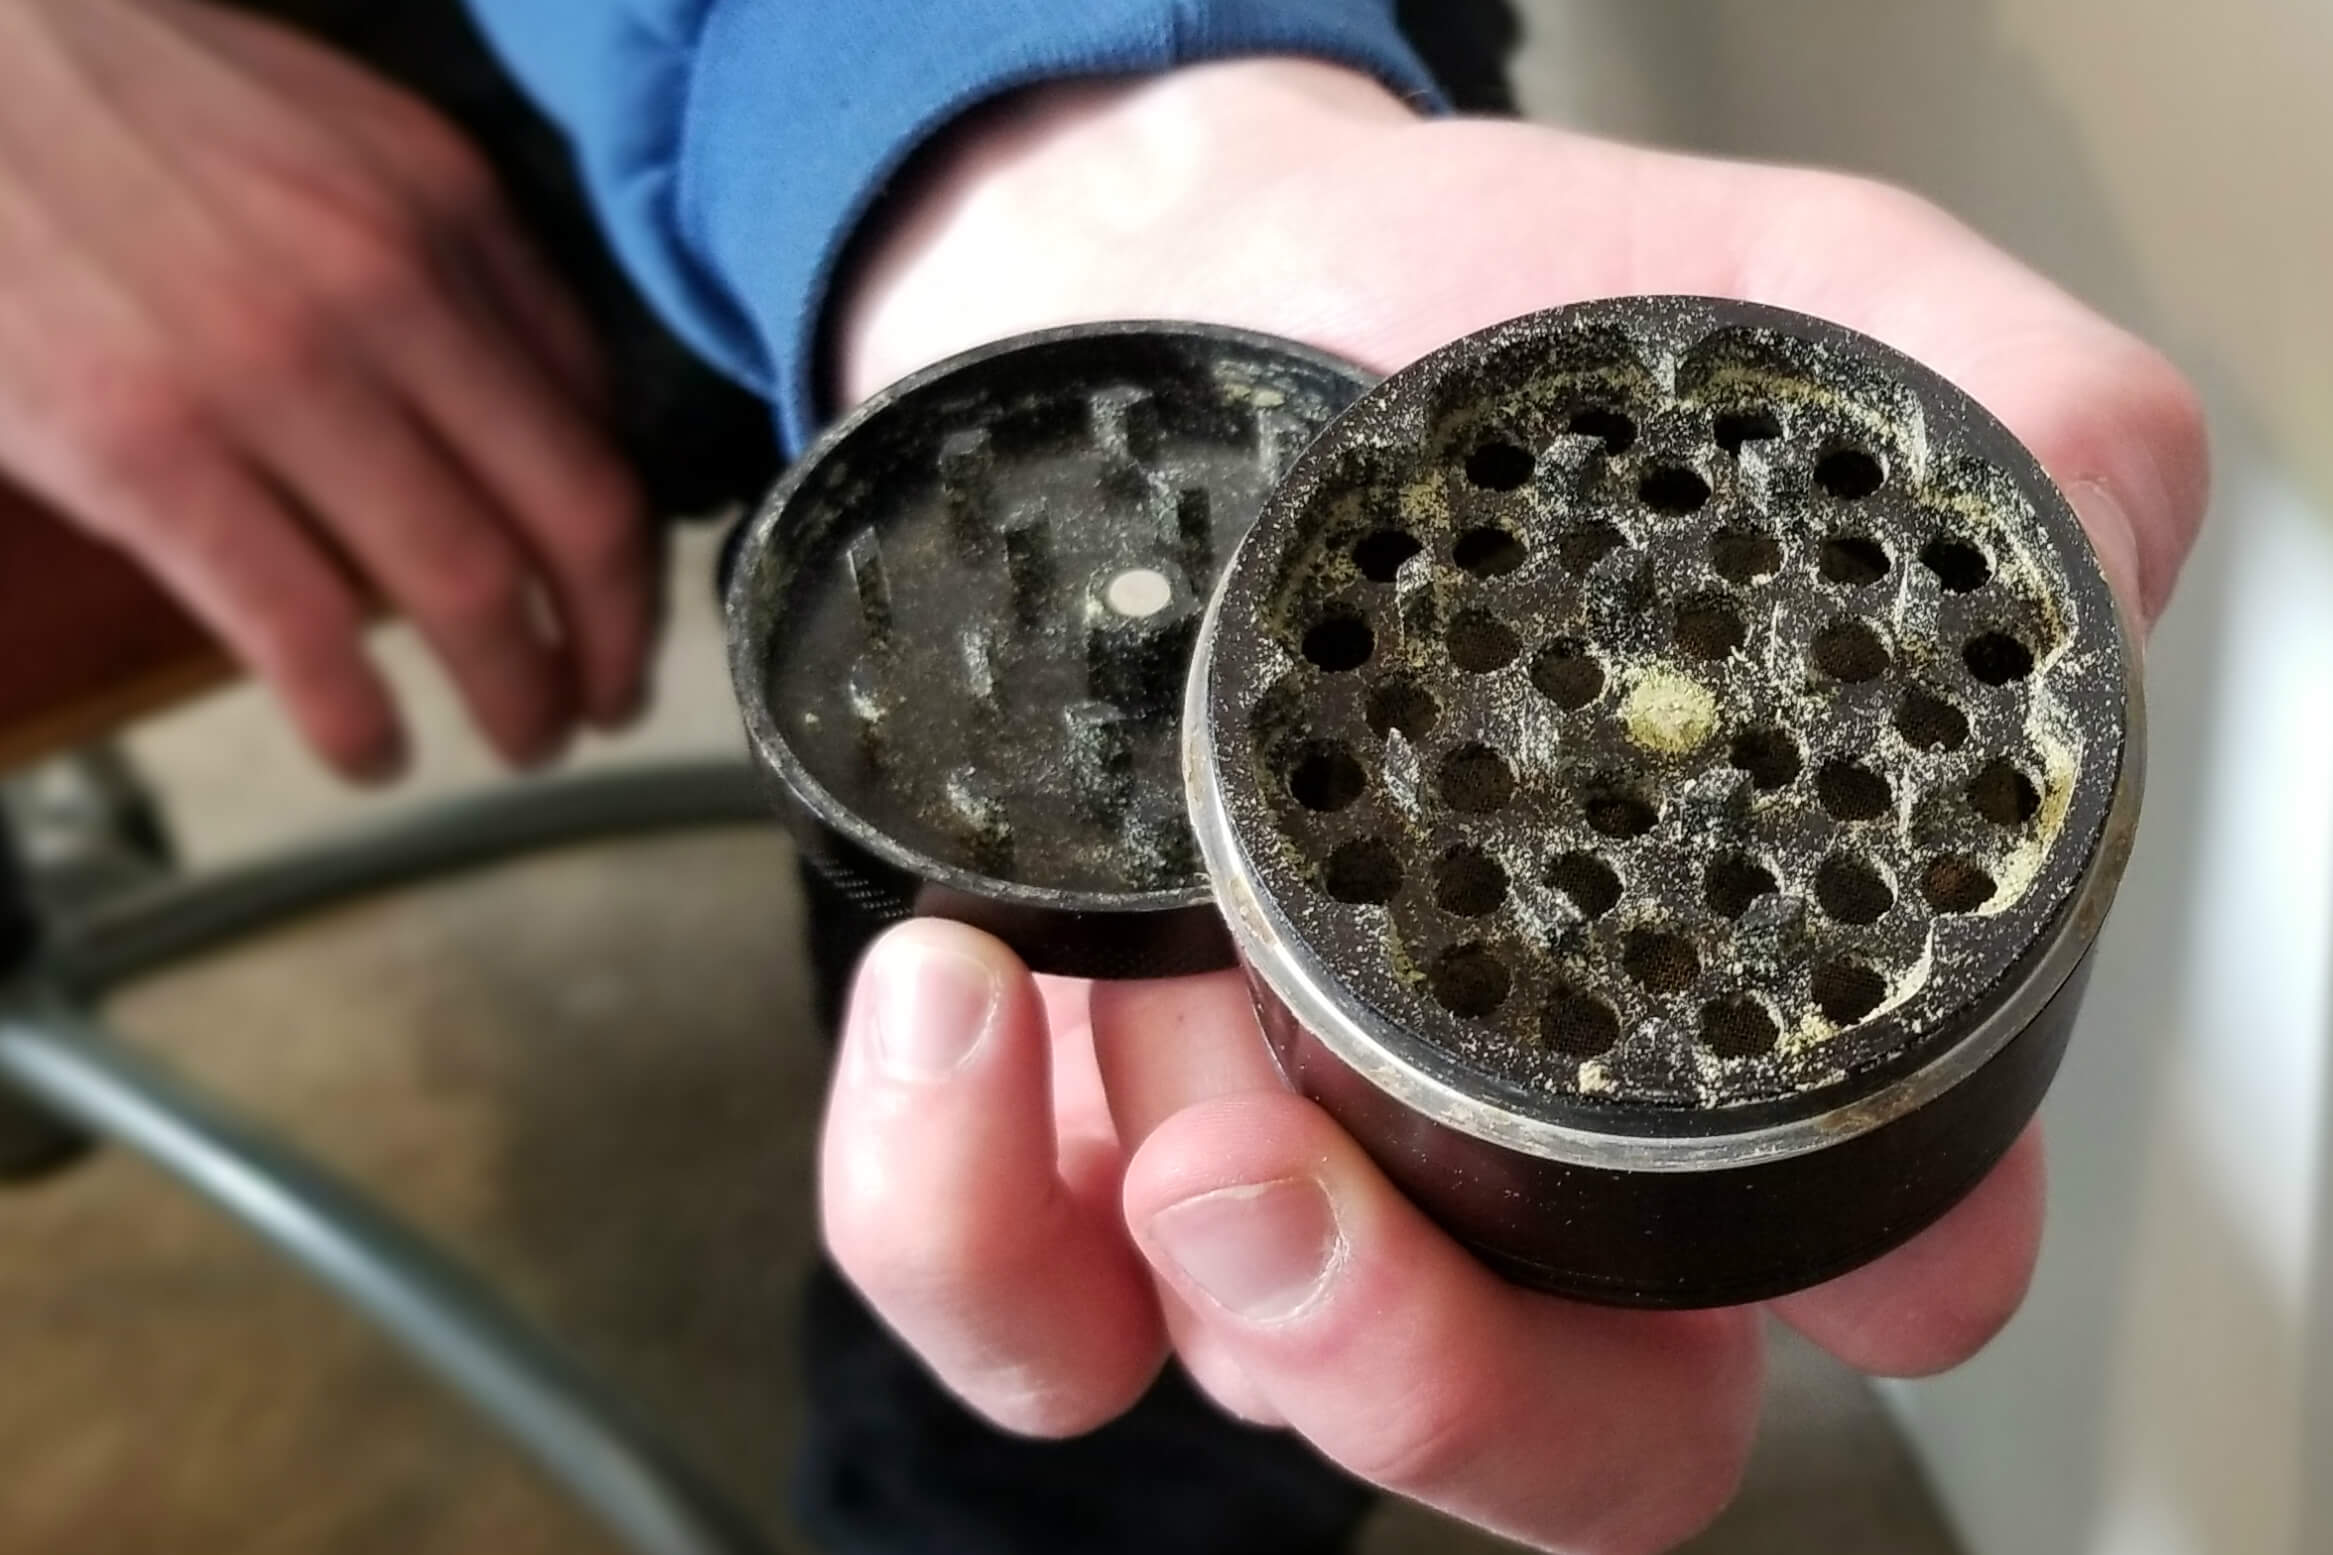
A weed grinder is a great tool for storing and grinding your herbs, tobacco, or marijuana.

It can also be a great accessory to own if you happen to be a frequent smoker.
But with frequent use comes the need for regular cleaning and maintenance of the grinder.

Here’s a step-by-step guide on how to clean a weed grinder:
1. Gather Your Supplies
Before you get started, make sure you have all the necessary supplies on hand.
You will need rubbing alcohol, paper towels, cotton swabs/pads, and pipe cleaners/brushes.
2. Disassemble The Grinder
Carefully take apart your grinder.
This will usually involve unscrewing several parts of the device until all pieces are removed from each other.
Make sure to keep track of which pieces go together and where they came from so that re-assembly is much easier after the cleaning process is finished.
3. Clean Each Piece Thoroughly
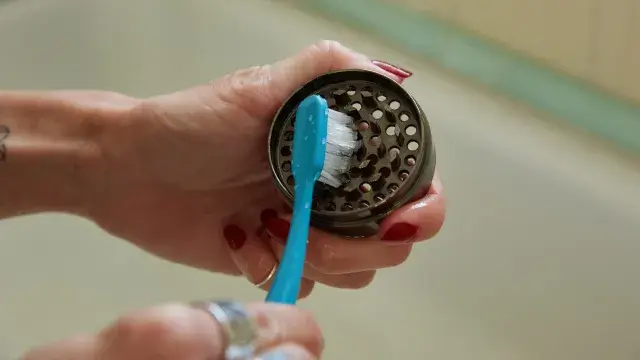
If there’s any build-up inside the sections of your grinder, use a brush or pipe cleaner to scrape it away before submerging each piece in rubbing alcohol for at least 5 minutes (or more for tougher build-ups).

Use cotton swabs soaked in rubbing alcohol to get into those hard-to-reach areas as well as any crevices that may not come into contact with the liquid when submerged in an alcohol bath.
4. Rinse & Dry All Parts
After submerging in rubbing alcohol, rinse off each piece with warm water and let them air dry completely before reassembling them back together again.
You can also use a soft cloth or paper towel to dry off each section if desired; just make sure no lint remains behind afterward!
Be sure not to leave any traces of moisture when drying off each section as this could result in rusting over time if not taken care of properly.
5. Reassemble Grinder
Once all pieces are clean and dried off properly, reassemble them back together according to their original positions and configurations.
Making sure everything fits snugly without leaving any gaps between sections (if there are any gaps present then this could cause grinding materials getting stuck within the gaps).
Make sure all screws are tightened properly so that they don’t become loose over time due to usage or vibrations while grinding material inside your weed grinder!
Optional Step – Lubricate The Grinder
To ensure long term functionality and performance of your weed grinder, consider lubricating it every once in awhile using food grade mineral oil (or olive oil).
Especially if you’ll be using it frequently for grinding material inside regularly over longer periods of time).
Rubbing a few drops onto moving parts such as blades will help keep them from wearing out too quickly from friction caused by grinding material inside – plus it’ll also make things run smoother overall!
Following these steps regularly will help extend the life expectancy of your weed grinder, keeping it functioning optimally for many years down the line – saving both money and frustration!
With just some gentle tender loving care every now and then combined with regular cleaning routine intervals.
You can enjoy an optimal herb grinding experience with your beloved device every single time!
