So, your vape pen isn’t working quite right. Maybe it’s not charging, or it’s acting more stubborn than a cat that doesn’t want a bath. Don’t worry—there’s a good chance it just needs a little TLC (tender loving cleaning). Here’s how you can clean your vape pen battery and get back to your smooth vaping experience.
Why Clean Your Vape Pen Battery?
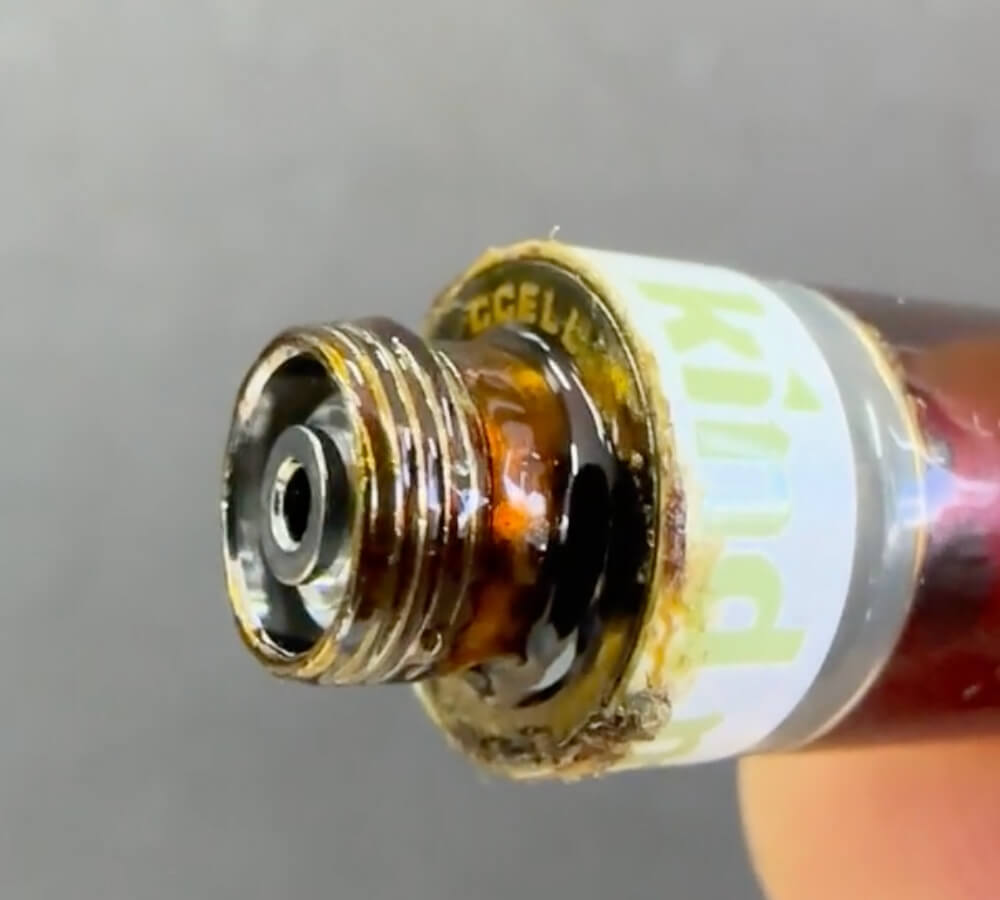
Think of your vape pen battery as the engine of a car. Over time, gunk (yes, that’s the technical term) can build up around the connection points, preventing it from doing its job. Residue from oils, e-juice, or dust can interfere with the connection between the battery and the cartridge. The result? A vape pen that sputters, refuses to charge, or just plain quits on you.

What You’ll Need
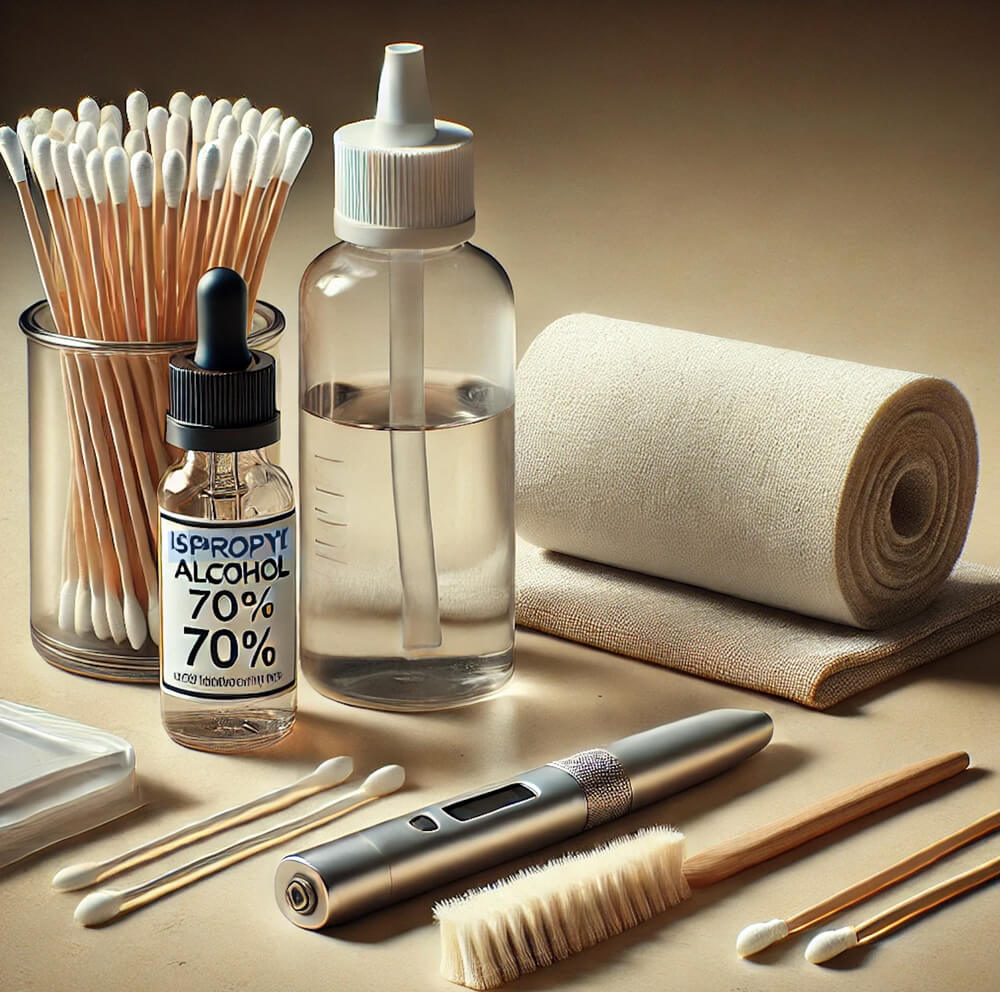
Before we dive in, gather these simple tools:
- Q-tips or cotton swabs (the humble hero of this story)
- Isopropyl alcohol (70% or higher)
- Paper towel or a clean cloth
- A small brush (optional but helpful for stubborn dirt)

Got everything? Great! Let’s roll up our sleeves.
Step-by-Step Cleaning Instructions
-
Turn It Off
Safety first! Make sure your vape pen is powered off. No one wants a surprise puff while cleaning.
-
Detach the Cartridge
Unscrew the cartridge from the battery. This gives you full access to the battery’s connection point (a.k.a. the part that gets dirty).
-
Inspect the Connection Point
Look closely at the threaded area where the battery connects to the cartridge. If it looks like a sticky science experiment, we’re in the right place!
-
Dab and Swab
Dip a Q-tip into a little isopropyl alcohol. It doesn’t need to be dripping—just damp. Gently swab the connection point, focusing on removing any residue or dirt. Use a light touch; we’re cleaning, not scrubbing a barbecue grill.
-
Check the Threads
Residue loves to hide in the threads of your vape pen. If you see gunk there, twist the Q-tip gently along the grooves. For tough spots, you can use a small brush (like a toothbrush) dipped in alcohol.
-
Dry It Off
Once you’ve evicted all the grime, use a paper towel or clean cloth to wipe the area dry. Make sure everything is completely dry before reassembling your vape pen—vape pens and moisture don’t mix well.
-
Reassemble and Test
Screw the cartridge back onto the battery and power it up. Give it a test puff. Smooth, right?
Bonus Tips to Keep It Clean
- Don’t Overfill Your Cartridge: Leaks can lead to sticky messes. Fill your cartridge with care.
- Store It Upright: A vape pen lying on its side is more likely to leak. Keep it standing tall.
- Clean Regularly: Make cleaning a habit. A quick swab every week or two can save you from major grime buildup.
A Clean Vape Pen = A Happy Vape Pen
Your vape pen battery is like a reliable friend. Treat it well, and it’ll stick with you through thick clouds and thin. With just a few minutes of cleaning, you’ll keep your device working like a charm—and you’ll avoid those frustrating moments when it refuses to cooperate.
Now go forth and vape responsibly, with a battery that shines brighter than your future on a good day.
